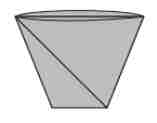
As you would expect, when folded flat the top of the cup is parallel to the bottom of the cup. To achieve this there is an interesting fold that is used only to find a point - the crease that this fold creates is not a part of the final model, but only used to help you along the way.
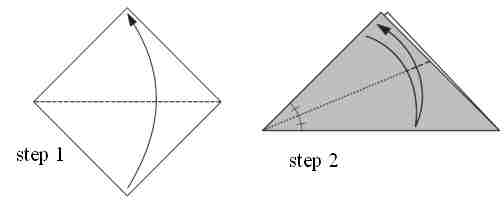
The intermediary fold that marks the point where the corner B is folded over to the side AC (point D) is one that constructs the angle bisector of ABC (see figures below) by folding the side AB onto the side BC.

How does an angle-bisector help us make the top of the cup parallel to the bottom? You can see this pretty clearly if you keep in mind the properties of transversals of parallel lines.
Depending on how you learned about the properties of transversals, you might recognize the "Z-law" that states that alternate interior angles of a transversal of parallel lines are equal.

The angle bisector that results from this gives a set of equal angles that become the alternate interior angles of the fold that transverses the top and bottom of the cup (you can also see this in the finished crease pattern below).

In Ontario, there is a grade nine mathematics curriculum expectation that states that students will "determine, through investigation using a variety of tools (e.g., dynamic geometry software, concrete materials), and describe the properties and relationships of the angles formed by parallel lines cut by a transversal, and apply the results to problems involving parallel lines." I think that investigating the origami paper cup can help here.
Although the origami cup is pretty easy to fold, and as I hope you can see, the "angle bisector" fold is pretty important in getting it right, some versions of the instructions get this wrong. For example, check out the city of Ottawa's compost bin origami instructions. If you watch closely, they get things wrong by using the right-bisectors of the sides of the folded triangle to find their reference points, instead of the angle-bisector. Luckily, newspaper and compost are pretty forgiving.

